Mold remediation process steps should follow a clear sequence: inspect the property, locate the moisture source, contain the work area, remove affected materials, verify the result, and restore the space. iMold organizes that work through the iMold Way, a documented approach built around Assess, Contain, Extract, Remediate, and Restore.
Schedule a free visual mold inspection and estimate with iMold.
In short: professional mold remediation is more than cleaning visible growth. It is a documented process for finding and correcting moisture, protecting unaffected areas, removing or cleaning affected materials, arranging independent verification, and restoring the property.
For Southwest Florida homeowners and businesses, iMold provides 24/7 emergency response, free visual mold inspections and estimates, insurance coordination, and restoration support that can continue through reconstruction when needed.
What are the seven mold remediation process steps?
The seven mold remediation process steps below explain what a property owner can expect from the first inspection through final restoration. The exact scope depends on the building, moisture history, affected materials, and testing results. A professional plan should be based on documented conditions rather than a guess from the visible surface.
Step 1: Start with a visual inspection and estimate
The first step is a careful visual assessment of the property. A qualified remediation team looks for visible mold, musty odors, staining, damp materials, and signs of water intrusion. iMold’s initial visual mold inspection and estimate are free. The assessment can include moisture meters and thermal imaging to help identify conditions that are not obvious from a simple walk-through.
The goal is not to make a health diagnosis or promise a particular result before the property is assessed. It is to establish what is visible, where moisture may be present, and which areas require closer evaluation. Photographing affected rooms and noting when a leak, storm, or humidity problem occurred can help the inspection begin with better information.
Step 2: Determine the moisture source and affected areas
Mold growth depends on moisture. A roof leak, plumbing failure, air-conditioning condensation, storm intrusion, or humidity problem can leave water behind walls, under flooring, inside cabinets, or above ceilings. The U.S. Environmental Protection Agency explains that moisture is central to indoor mold growth, so cleaning visible material without addressing the source can leave the underlying problem unresolved.
Source determination establishes the boundaries of the project. The team documents the likely origin of the moisture, traces how far it traveled, and identifies materials that may need drying, cleaning, controlled removal, or repair. If the source is still active, stopping or correcting it is part of a durable remediation plan.
Step 3: Arrange independent testing when appropriate
Testing and remediation are different parts of the process. When testing is appropriate, iMold uses an independent third party to help establish a baseline before work and verify clearance after remediation. This separation supports unbiased verification and gives the property owner results from an outside testing professional rather than from the company performing the remediation.
Testing does not replace a visual inspection and moisture assessment. The most useful question is how the results fit into the documented scope. Ask who will perform the testing, what the testing is intended to establish, and how the results will be considered before the next step begins. Learn more about third-party mold inspection and testing from iMold.
Step 4: Contain the work area and control air movement
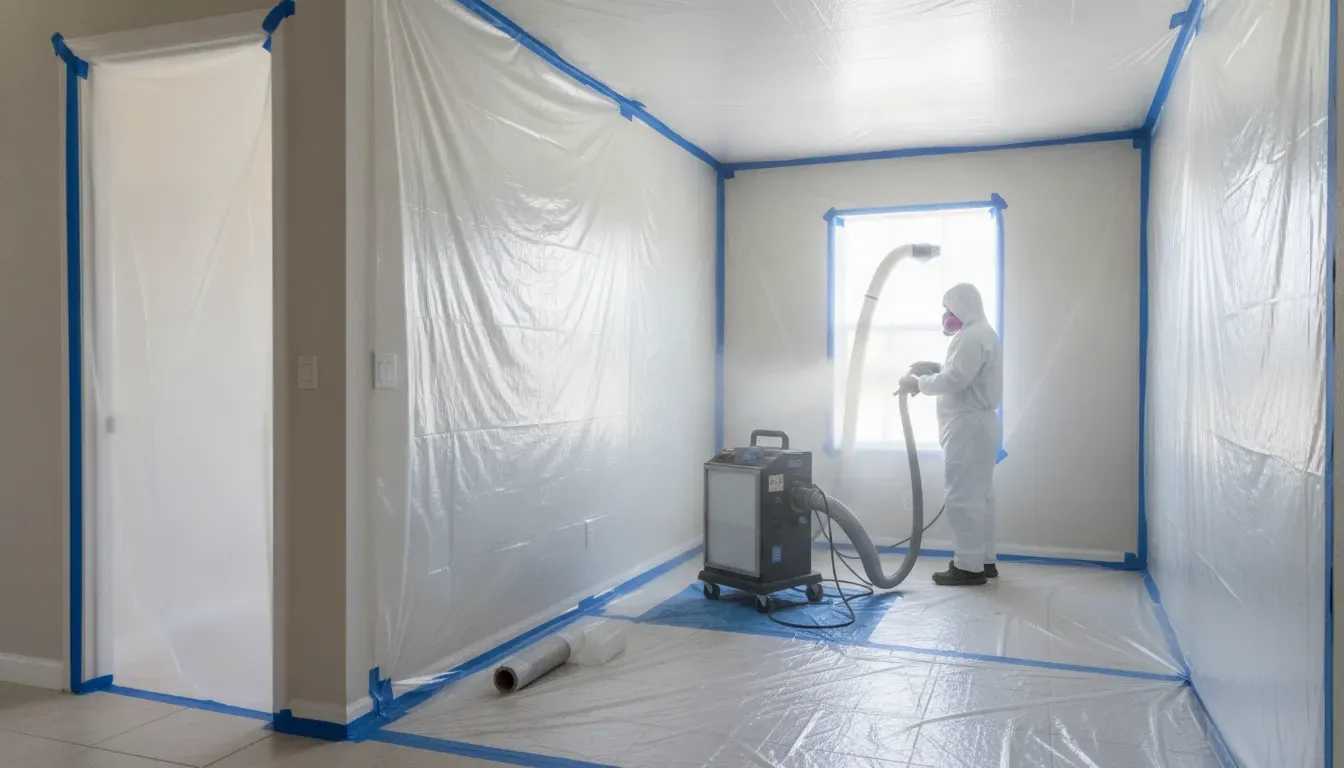
Containment helps keep dust, debris, and disturbed material from moving into unaffected parts of a property. Depending on the scope, a remediation plan may use physical barriers, controlled access, negative air pressure, and HEPA filtration. The work area should be managed in a way that protects occupants and limits unnecessary spread during removal and cleaning.
Containment is not a one-size-fits-all plastic barrier. Its design should reflect the location, materials, amount of affected area, and way people move through the building. A professional crew also uses appropriate protective equipment and communicates which rooms or pathways should remain clear while work is underway.
Step 5: Extract moisture and remove or clean affected materials
Extraction and removal address the conditions that allow mold to persist. Water may need to be removed, wet materials dried, and damaged components evaluated for cleaning or controlled removal. Depending on the scope, professional work can include HEPA vacuuming, air scrubbing, antimicrobial treatment, cleaning of salvageable materials, and proper bagging and disposal of debris.
Not every material receives the same treatment. Porous materials that cannot be effectively cleaned may need removal, while other contents or structural components may be salvageable after cleaning and drying. iMold’s work is guided by the documented scope and applicable restoration practices, including IICRC S520 principles for mold remediation.
Review iMold’s professional mold removal and remediation services.
How does the iMold Way connect the seven steps?
The iMold Way turns a complex project into five understandable stages: Assess, Contain, Extract, Remediate, and Restore. The seven customer-facing steps add detail to those stages, so a property owner can see how inspection, testing, containment, cleaning, verification, and repairs fit together.
- Assess: inspect the property and determine the moisture source and affected areas.
- Contain: control access and air movement before disturbing affected materials.
- Extract: remove standing water, excess moisture, and materials that cannot be salvaged.
- Remediate: clean, treat, and remove affected materials, then arrange independent verification when appropriate.
- Restore: clean contents, repair building materials, and return the property to service.
This sequence is important because one step supports the next. Removing visible growth before locating moisture can lead to recurrence. Starting repairs before the area is dry can trap a continuing problem. A written scope gives the owner and the project team a common reference point throughout the work.
What should you do before professional remediation begins?
Before a remediation crew arrives, focus on safety, source control, documentation, and limiting disturbance. Do not enter an area with electrical or structural hazards. If it is safe, stop an active water source or arrange for the leak to be repaired. Keep people and pets away from a visibly affected work area, and avoid sanding, aggressive brushing, or demolition that could spread debris.
- Document the event. Photograph the apparent source, affected rooms, and damaged materials. Note when the leak, storm intrusion, or odor began.
- Protect personal safety. Do not handle questionable materials or enter unsafe spaces simply to inspect them more closely.
- Preserve useful information. Keep repair invoices, photos, moisture-related correspondence, and any testing reports together.
- Ask for a written scope. The scope should explain what will be inspected, contained, cleaned, removed, dried, tested, and restored.
- Notify your insurance carrier when appropriate. iMold can coordinate with carriers, use Xactimate documentation, and help organize the project record.
The EPA’s mold remediation guidance also emphasizes planning, protecting occupants, correcting moisture, and evaluating the work area after remediation. The right preparation is not about trying to perform professional cleanup yourself. It is about reducing additional damage and giving the remediation team accurate information.
How do remediation and restoration finish the project?
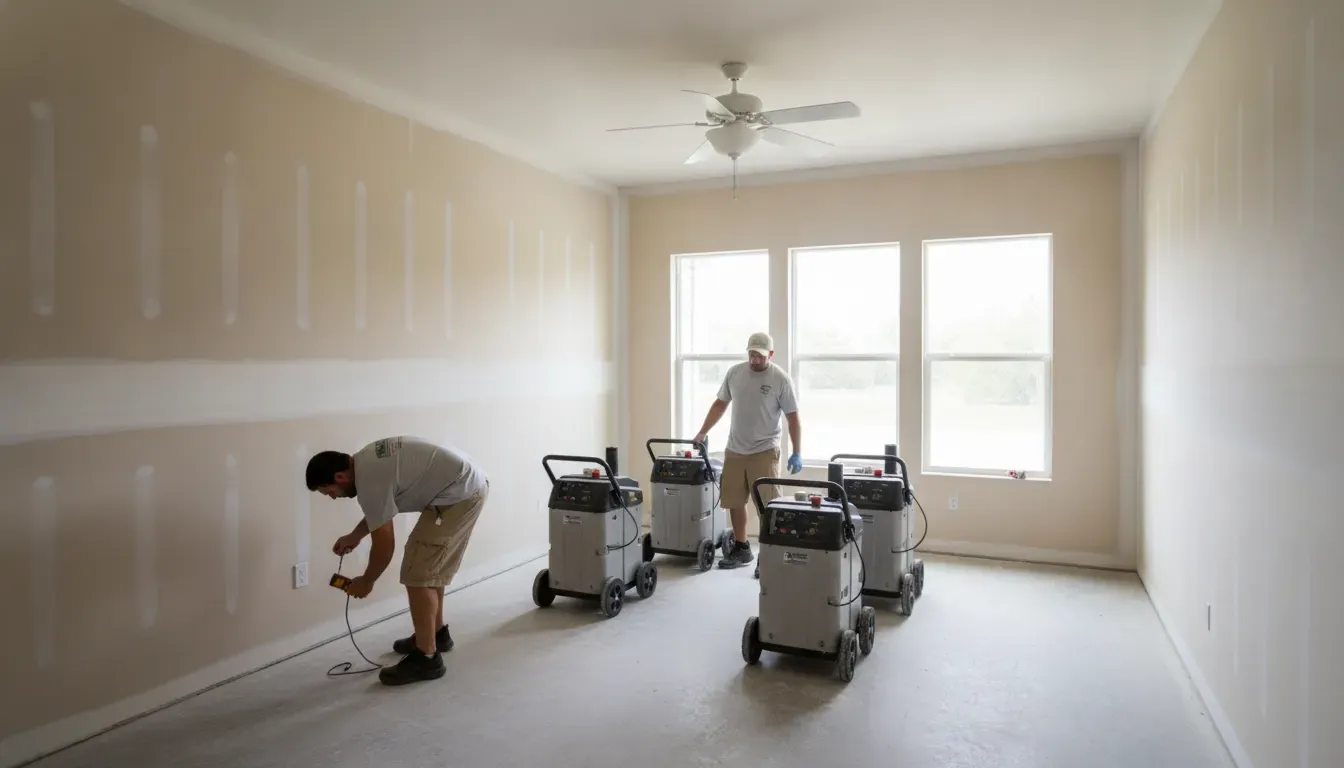
Remediation is complete only when the affected area has been cleaned or removed according to the scope, moisture conditions are controlled, and the property can move into verification and restoration. Independent post-remediation testing may help verify clearance when included in the plan. The restoration stage then addresses damaged drywall, flooring, finishes, contents, or other building components.
iMold’s full-service model can connect mold remediation with repairs and reconstruction. The company is licensed, bonded, and insured and holds the public-facing credentials State Certified Mold Remediator (MRSR2170) and State Certified General Contractor (CGC1540205). That combination can reduce handoff friction when a mold project also involves damaged building materials. Review the company’s rebuild and reconstruction services for the restoration stage.
What should you verify before the project is closed?
| Check | What it confirms |
|---|---|
| Moisture readings and source correction | The original water or moisture problem has been addressed and affected areas are dry according to the project scope. |
| Containment removal and final cleaning | The work area and pathways have been cleaned and the project has been prepared for normal use. |
| Testing or clearance documentation | Any independent testing included in the plan has been completed and the results have been provided. |
| Repair and reconstruction scope | Damaged drywall, flooring, finishes, or other materials have been repaired or scheduled for the next restoration stage. |
| Insurance and project records | Photos, estimates, readings, invoices, and carrier documentation are organized for future reference. |
Keep the final documentation with your property records. If moisture returns, contact a qualified professional promptly rather than covering a stain or repainting over a recurring condition. A return of moisture does not automatically mean the original work was ineffective, but it does mean the new source should be investigated.
Get a clear mold remediation plan from iMold’s Southwest Florida team.
Frequently Asked Questions
Can black mold really be remediated?
Yes. The process focuses on controlling moisture, containing the work area, removing or cleaning affected materials, and verifying the result. The color or common name of a mold concern does not replace a professional assessment. If the source of moisture remains, growth can return after surface cleaning.
How long does full mold remediation take?
Project length depends on the size of the affected area, the materials involved, the moisture source, drying conditions, testing schedule, and repair scope. A visual inspection and written estimate can establish the next steps. Do not rely on a fixed timeline before the property has been assessed. Read more about how long mold remediation can take.
How long should you stay out of the house after remediation?
Follow the project team’s instructions for the specific property. Occupancy can depend on containment, the work being performed, air quality conditions, cleaning, drying, and any independent testing or clearance plan. If anyone in the property has health concerns, they should consult an appropriate medical professional.
How likely is mold to come back after remediation?
Mold can return when moisture or water intrusion returns. The best prevention is to correct the source, keep affected materials dry, maintain ventilation, and respond promptly to leaks or flooding. Follow-up documentation and moisture checks can help identify a recurring condition early.
Is DIY mold cleanup appropriate for every situation?
No. Small, isolated surface concerns may be handled differently from widespread growth, hidden moisture, contaminated materials, or damage after a flood. Avoid disturbing a large or uncertain area. A professional assessment can clarify whether the condition requires containment, specialized equipment, controlled removal, or restoration.
The iMold Way gives Southwest Florida property owners a transparent path from assessment to restoration. With 24/7 emergency availability, free visual mold inspections and estimates, independent testing when appropriate, insurance coordination, and full restoration capabilities, iMold can help you understand the work before it begins.